
Spanning nearly three decades from 1870 to 1897, the Canadian Small Queens series represents one of the most complex, studied, and rewarding fields in British Commonwealth philately. Issued during the reign of Queen Victoria, these definitive stamps replaced the larger 1868 “Large Queens” series with a more compact, cost-effective design.
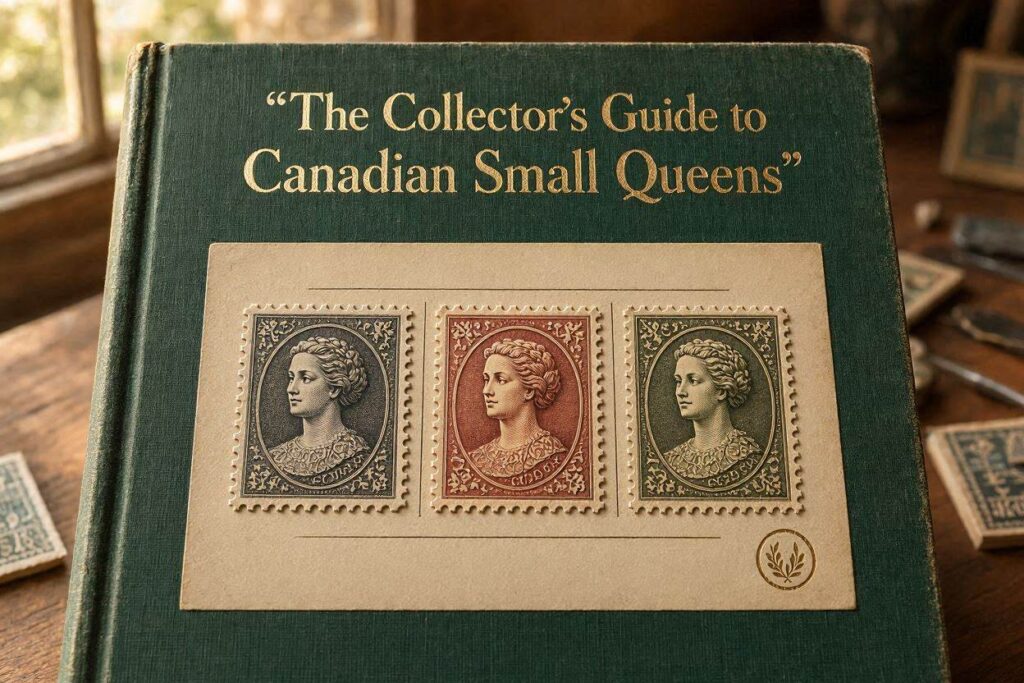
For collectors, the Small Queens series is a treasure trove of specialization. Because these stamps were produced in massive quantities over 27 years by two different printing facilities using varying inks, papers, and perforation machines, a single denomination can exist in dozens of distinct shade and technical varieties—some worth a few dollars, and others commanding thousands.
This definitive guide breaks down the physical characteristics, printing periods, perforation variations, and major color shades of Canada’s Small Queen issues.
The Two Main Printing Eras: Montreal vs. Ottawa
To understand Small Queen varieties, collectors must first distinguish between the two primary printing locations operated by the British American Bank Note Company (BABNC):
1. The First Montreal Printings (1870–1888)
In 1870, initial production began at BABNC’s Montreal facility.
- Paper Attributes: Early Montreal printings typically feature relatively thin, crisp paper with a smooth, glossy surface.
- Perforations: Predominantly perforated 11.5 x 12 or 12 x 12.
- Printing Clarity: Early impressions are exceptionally sharp, crisp, and clear, showcasing fine engraved lines in Queen Victoria’s hair and crown.
2. The Ottawa Printings (1888–1897)
In 1888, BABNC relocated its headquarters and printing operations to Ottawa.
- Paper Attributes: Ottawa issues generally utilize thicker, softer, and more porous paper stocks.
- Perforations: Almost universally perforated 12 x 12 (clean-cut or rough).
- Printing Clarity: Plates used during the Ottawa era showed progressive wear, often resulting in softer or slightly blurred detail compared to early Montreal impressions.
Decoding Small Queen Perforations
Perforations provide one of the quickest technical methods to classify a Small Queen stamp and determine its printing timeframe. Measuring perforations accurately requires a precise gauge (such as a Instanta or digital gauge).
+-------------------------------------------------------------------------------+
|                       SMALL QUEEN PERFORATION MATRIX                          |
+---------------------+-------------------+-------------------------------------+
| PERFORATION GAUGE   | ERA               | TYPICAL NOTES                       |
+---------------------+-------------------+-------------------------------------+
| Perf 12 x 12        | Montreal & Ottawa | The standard gauge across all values|
+---------------------+-------------------+-------------------------------------+
| Perf 11.5 x 12      | Montreal (Early)  | Common on 1c, 3c, and 6c values     |
+---------------------+-------------------+-------------------------------------+
| Perf 11.5 x 11.5    | Montreal (Rare)   | Found on select early 3c printings  |
+---------------------+-------------------+-------------------------------------+
| Rough Perf 12       | Late Ottawa       | Characterized by ragged, fibrous    |
|                     |                   | perforation tips                    |
+---------------------+-------------------+-------------------------------------+
The 3-Cent Small Queen Perforation Mystery
The 3-cent red/copper Small Queen is the most prolific stamp in the series. Early 1870 Montreal printings feature a distinct Perf 11.5 x 12 gauge. Discovering a true Perf 11.5 x 11.5 gauge on early 3c issues can yield a significant catalog premium in the Unitrade Specialized Catalogue of Canadian Stamps.
Major Denominations and Key Shade Varieties
Because inks were mixed manually in batches over a 27-year span, pigments shifted dramatically based on chemical availability and environmental wear. Here is a breakdown of the most sought-after shade variations across major denominations:
| Denomination | Common Shades | Rare / High-Value Shades | Identification Tips |
| 1-Cent | Yellow, Bright Yellow, Orange-Yellow | Deep Yellow, Pale Orange-Yellow | Check for early Montreal sharp impressions versus soft late Ottawa yellow inks. |
| 2-Cent | Green, Deep Green, Yellow-Green | Emerald Green, Sea Green | The 2c Sea Green (1872) is a classic rarity requiring expert certificate validation. |
| 3-Cent | Indian Red, Copper Red, Vermilion | Rose Carmine, Deep Rose, Bright Red | The 1870 3c Indian Red on early crisp paper represents the earliest shade milestone. |
| 5-Cent | Slate Green, Olive Green | Grey-Green, Bronze Green | Introduced in 1875 for UPU rates; look for deep olive tints on hard paper. |
| 6-Cent | Brown, Dark Brown, Chestnut | Yellow-Brown, Red-Brown | Early Montreal 6c Yellow-Brown printings are highly prized by shade specialists. |
| 10-Cent | Pale Lilac, Magenta, Dull Blue | Plum, Carmine-Pink, Deep Violet | The 10c value features some of the widest color shifts in Canadian postal history. |
Paper Types and Rare Varieties
Beyond ink shades and perforation counts, paper varieties play a crucial role in Small Queen valuation:
1. Laid Paper (Extremely Rare)
While standard Small Queens were printed on wove paper, a tiny number of 1-cent and 3-cent stamps from the early 1870 Montreal period were accidentally printed on laid paper (showing horizontal or vertical parallel line structures in the paper pulp).
- 3-Cent Small Queen on Laid Paper (Scott #35a): Recognized as one of the major classical rarities of Canadian philately, fetching thousands of dollars at specialized auctions.
2. Thick Soft Paper vs. Thin Hard Paper
- Thin Hard Paper: Typical of 1870–1873 Montreal issues; translucent under strong light.
- Thick Soft Paper: Common in 1890s Ottawa printings; absorbs ink deeply, giving colors a darker, matte appearance.
Step-by-Step Workflow for Identifying Small Queens
- Gauge the Perforations: Use a precision perforation gauge to establish whether the stamp is Perf 12×12, 11.5×12, or a compound variation.
- Examine Paper Fiber and Weight: Place the stamp under a backlight to determine whether the paper is thin/hard (Montreal) or thick/soft (Ottawa).
- Assess the Impression: Look at Queen Victoria’s hair strands and crown lines under 10x magnification. Sharp line work points to early plate state; heavy line merging indicates late plate wear.
- Compare Color Under Natural Light: Avoid halogen or colored LED bulbs when evaluating shades. Use indirect daylight or a standardized daylight lamp alongside a recognized color reference chart (e.g., Stanley Gibbons Color Key or Unitrade shade guide).
- Check for Re-entries: Scan the corner numerals and frame lines for doubled engraved lines—Small Queen plates contain hundreds of minor and major re-entry varieties.
Mastering the Canada Small Queens series requires patience, proper tools, and an eye for subtle detail. By learning to combine perforation measurements, paper texture analysis, and shade identification, collectors can navigate this historical issue and uncover valuable philatelic gems hidden inside general collections.